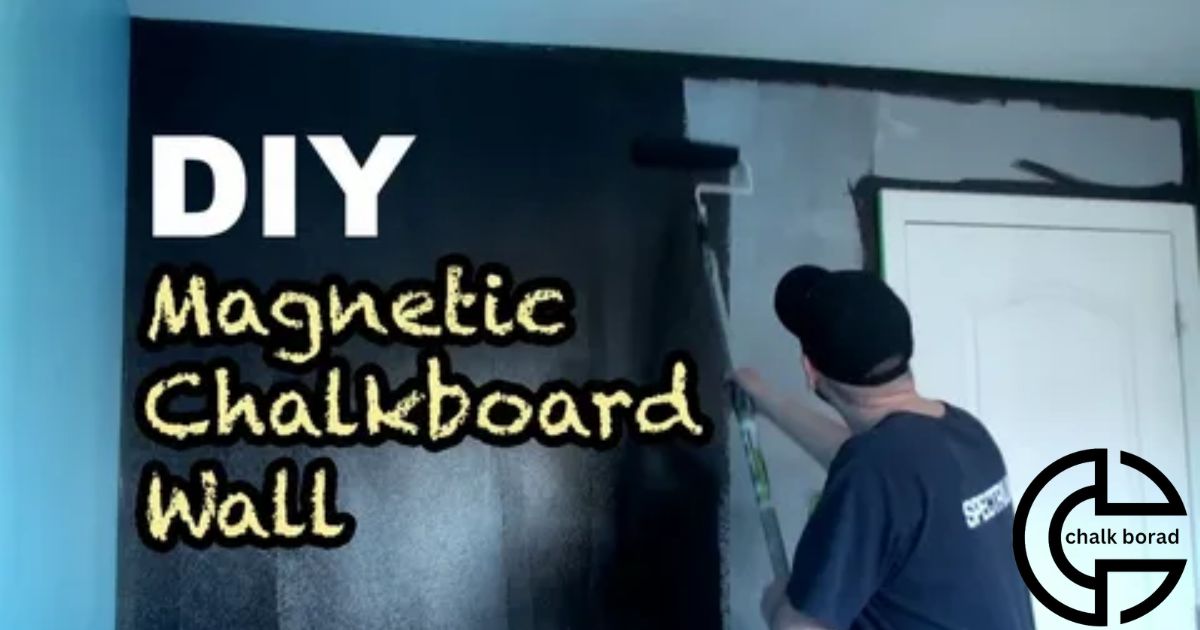
Make a magnetic chalkboard by applying magnetic paint to a surface, then coat it with chalkboard paint. This DIY project allows you to write on and attach magnetic items to the board.
Transform any space into an interactive hub with a DIY magnetic chalkboard. Wondering how to make a magnetic chalkboard? Begin by applying magnetic paint to a board for a magnetic base. Once dry, add a layer of chalkboard paint to create a functional surface for both writing and displaying magnets. Elevate your organization and creativity with this simple and practical project.
To make a magnetic chalkboard start by applying magnetic paint to a board for a magnetic surface. Once dry, cover it with chalkboard paint to create a versatile writing and display area. This DIY project adds functionality and creativity to any space.
Supplies to Make a DIY Magnetic Chalkboard
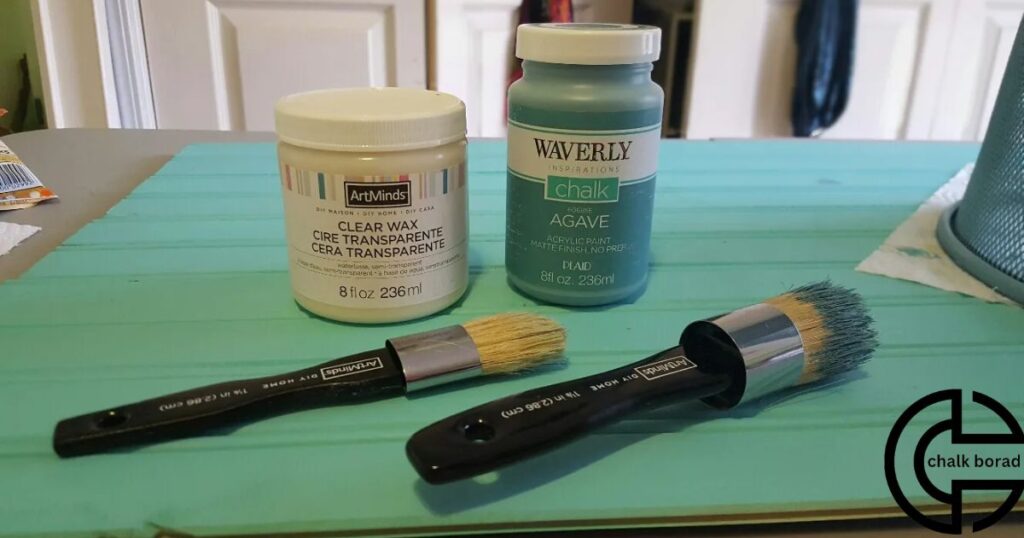
This is a simple and fun project. Gather the necessary supplies to get started. such as a sheet of metal or a magnetic board that will act as a base. Next, pick up a can of magnetic primer paint from your local hardware store. Apply a few coats of this paint to the metal surface following the directions on the can. Once it dries you will have a magnetic base for your chalkboard.
Grab a can of chalkboard paint in your desired color for the chalkboard section. Apply two coats to the primed metal surface and allow it to dry completely between coats. You have a functional and customizable magnetic chalkboard ready to hang on the wall. Don’t forget to add a personal touch by decorating the frame or using colored chalk for your messages and drawings. This simple DIY project is a great way to organize your space while adding creativity.
How To Prepare Magnetic Chalkboard?
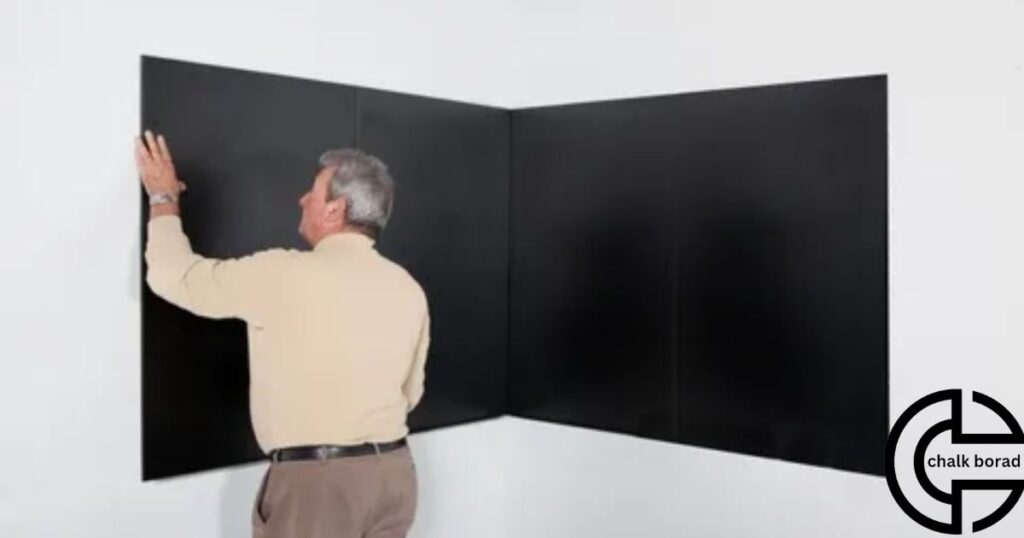
- Select a Chalkboard Surface:
- Choose a smooth and clean chalkboard surface for the best results.
- Ensure the surface is non-porous to allow for better adhesion of magnetic materials.
- Clean the Chalkboard:
- Wipe down the chalkboard surface with a damp cloth to remove any dust, dirt, or residue.
- Allow the surface to dry completely before proceeding.
- Gather Materials:
- Purchase magnetic primer or magnetic paint suitable for chalkboards.
- Acquire a high-quality paintbrush or roller for application.
- Prepare the Magnetic Primer:
- Stir the magnetic primer thoroughly to ensure an even consistency.
- Follow the manufacturer’s instructions regarding mixing and application.
- Apply the Magnetic Primer:
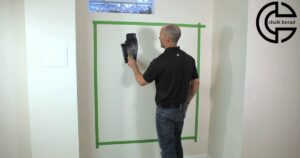
- Use a paint brush or roller to apply an even coat of magnetic primer to the chalkboard surface.
- Allow the primer to dry according to the recommended drying time.
- Sand the Surface (Optional):
- Lightly sand the primed surface to create a smoother finish.
- Wipe away any dust created during sanding with a clean, dry cloth.
- Apply Additional Coats (if needed):
- Apply additional coats of magnetic primer as per the product instructions, allowing drying time between each coat.
- Multiple coats may enhance magnetic strength.
- Paint the Chalkboard Surface:
- Once the magnetic primer is completely dry, paint over it with chalkboard paint.
- Use a paint brush or roller for an even application.
- Allow Drying Time:
- Allow the chalkboard paint to dry completely between coats.
- Follow the manufacturer’s recommendations for the specific drying time.
- Season the Chalkboard:
- Once the paint is fully cured, season the chalkboard by rubbing the entire surface with the side of a piece of chalk and then erasing it.
- Test Magnetic Strength:
- Test the magnetic strength of the chalkboard by attaching various magnets to ensure they adhere securely.
- Personalize and Decorate:
- Use chalk to personalize your magnetic chalkboard with designs, notes, or drawings.
- Utilize the magnetic surface for displaying important notes, artwork, or other magnetic items.
Steps for Making a Magnetic Chalkboard
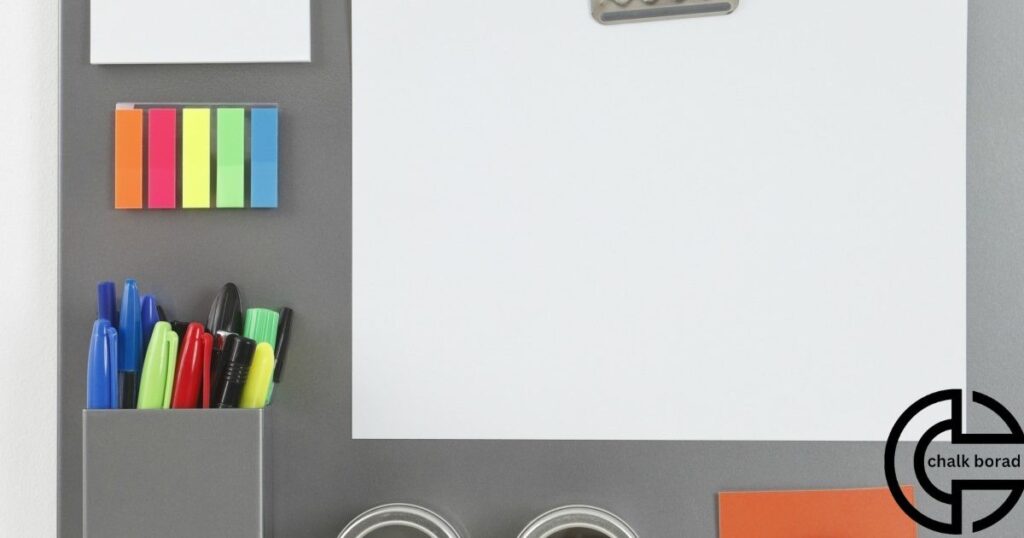
It is simple and fun. First gather your materials: a piece of wood or a frame, magnetic paint, chalkboard paint, paintbrushes, sandpaper, and magnets.Start by sanding the wood to create a smooth surface. Apply a layer of magnetic paint. Let it dry completely.
Apply a coat of chalkboard paint and let that dry as well. Repeat these steps for additional layers if needed. After everything is dry. your magnetic chalkboard is ready to use. Use colored chalk, sidewalk chalk for a vibrant touch to liven up your board for extra creativity. Attach magnets to hold notes or drawings. Now you have a personalized magnetic chalkboard for your home or office.
Paint the Masonite or Hardboard with Magnetic Paint Primer
To make a magnetic surface, start by getting masonite or hardboard. Use a magnetic paint primer for this project. Simply paint Masonite or hardboard with a magnetic paint primer following the directions on the paint can. After it dries, you will have a magnetic base ready for a variety of uses.
Paint the Board with Chalk Paint
Easily transform your board with chalk paint. Start by choosing your favourite color of chalk paint. Use a paint brush to apply the chalk paint. Let it dry. Viola – you have a stylish chalkboard for your creative expressions.
Season the Chalkboard
After painting with chalkboard paint, it is important to season the surface. Take a piece of chalk and rub it all over the board. Cover it completely. Wipe off the chalk with a dry cloth and your chalkboard is now ready for your animated creations.
Cut the Boards for the Chalkboard Frame
Start by measuring and marking the dimensions of your chalkboard frame. Carefully cut the boards to the specified length using a saw. Ensure accurate deductions. Then assemble the pieces to create a sturdy and attractive frame for your chalkboard.
Paint or Stain the Frame Pieces
Once the frame pieces are cut, choose your desired finish. Apply a smooth coat evenly to each frame piece using a brush or cloth. Allow plenty of time to dry. Soon your chalkboard frame will boast a personal touch that complements your style.
Attach the Frame to the Chalkboard with Screws
Carefully align the frame around the edges of the chalkboard. Use screws to secure the frame. Making sure it is well connected. This easy step completes your chalkboard project. Provides a finished and polished look to showcase your creative endeavors.
Add hangers at the back and hang the chalkboard
Add hangers to the back of the chalkboard for easy hanging. Secure them firmly using screws. Once completed your chalkboard is ready to hang and display. Which easily brings a touch of creativity to your space.
DIY Magnetic Chalkboard using Sheet Metal
Start with a sheet of metal for a DIY magnetic chalkboard. Apply magnetic paint primer. Let it dry completely. Then coat the surface with chalkboard paint. You have created a simple and functional magnetic chalkboard for your home or office.
Customization Options A Magnetic Chalkboard
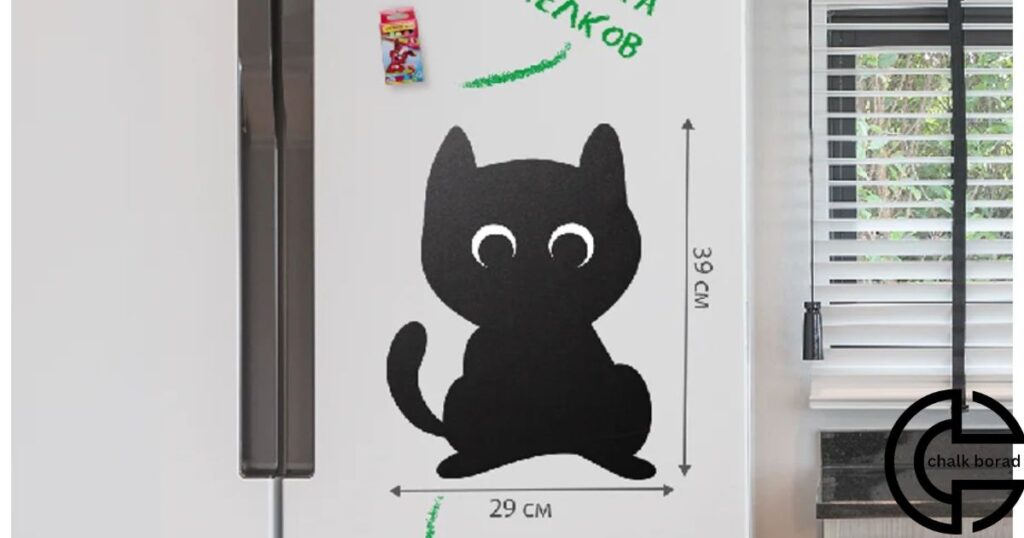
It offers interesting customization options. You can choose the size that fits perfectly in your space. Be it a small kitchen or a large office. Choose a frame color that matches your decor. From classic black to vibrant red or sleek silver.
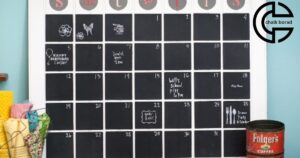
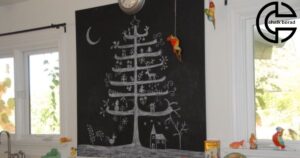
With this magnetic chalkboard you have the freedom to express yourself. Use colored chalk to create eye-catching designs or leave important notes. The magnetic surface lets you easily display photos, memos, and even magnetic accessories. Whether for home or office, a custom magnetic chalkboard brings both functionality and style to your space.
Magnetic Primer Benefits
It offers interesting advantages when applied to a chalkboard. First, it turns a traditional chalkboard into a versatile magnetic surface. This means you can now use magnets to attach notes, photos or even important documents directly to the chalkboard. Your chalkboard becomes a dynamic centre for displaying and organizing information.
Magnetic primer enhances creativity and functionality. Your chalkboard not only serves as a space for writing and drawing, but also as a magnetic canvas for interactive displays. Whether it’s educational content, artwork or reminders. The magnetic chalkboard becomes a practical and attractive tool in various settings such as classrooms, offices or homes. With Magnetic Primer you unlock a world of possibilities by turning your chalkboard into a magnetic masterpiece.
Creative Uses
A magnetic chalkboard is a versatile tool that sparks creativity in various ways. Teachers use it in classrooms to make lessons interactive – they attach magnetic letters for spelling exercises and colorful shapes for engaging math activities. At home, it becomes a canvas for children’s imagination, letting them create colorful drawings with magnetic shapes and letters.
In the kitchen, a magnetic chalkboard serves as a handy organizer. Grocery lists and recipe cards can be conveniently displayed with magnets, making it easy to keep track of what’s needed. Additionally, it becomes a dynamic space for meal planning, with the ability to rearrange menus or attach notes. The magnetic chalkboard proves that functionality and creativity can effortlessly come together in simple yet innovative ways.
Maintenance Tips
Regular cleaning is essential to keep your magnetic chalkboard in top condition. Start by wiping the surface with a soft damp cloth to remove dust and chalk residue. Avoid abrasive cleaners that can scratch the board. If stubborn marks persist, use a mild soap and water mixture for gentle cleaning. Be sure to dry the board thoroughly after cleaning to prevent water damage.
Pay attention to the magnetic strength of your chalkboard. Over time, magnets can weaken. So periodically check and replace any damaged or weak magnets. To extend the life of your magnetic chalkboard, keep magnets away from direct sunlight and extreme temperatures. By following these simple maintenance tips, your magnetic chalkboard will work efficiently for a long time.
Budget-Friendly Options
Consider a magnetic chalkboard. These budget-friendly options provide a versatile solution for keeping track of your tasks, grocery lists or important notes. Wondering how these magnetic chalkboards work? With the magnetic surface you can easily attach papers, photos and reminders using magnets. Can add a personal touch to your organization.
Magnetic chalkboards come in a variety of sizes and designs. That makes it easy to find one that fits your space and style without breaking the bank. Whether you’re a student on a tight budget or a parent looking for an economical way to manage family schedules. These magnetic chalkboards offer a practical and cost-effective solution to stay on top of your daily activities. Enjoy the benefits of organization without sacrificing your wallet.
Showcasing the Final Product

This is a fun and practical project. Start by choosing a smooth board. It can be wood or metal. Apply a coat of magnetic paint to make it magnet friendly. After it dries, cover the surface with chalkboard paint. After everything is dry your magnetic chalkboard is ready to use.
It is time to reveal your final product. Hang a magnetic chalkboard on a wall in your kitchen or office. Use colorful magnets to hold important notes, recipes or artwork. The chalkboard surface allows you to write quick messages or doodle creatively. This DIY project not only adds a personal touch to your space. Also serves as a functional and stylish organisation tool.
FAQ’s
Can you use regular chalk on a magnetic chalkboard?
Yes, regular chalk can be used on a magnetic chalkboard.
Does magnetic paint really work?
Yes, magnetic paint can work to create magnetic surfaces.but its effectiveness may vary based on the specific product and application.
How long does magnetic paint take to dry?
Magnetic paint typically takes about 4 hours to dry.
What is the best coating for magnets?
The best coating for magnets is typically a layer of nickel-copper-nickel or zinc to provide protection against corrosion.
How do you waterproof a magnet?
It is not possible to waterproof a magnet as water does not affect its magnetic properties.
Final Thought
This is a simple and fun DIY project that anyone can tackle. Wondering how to make a magnetic chalkboard? It is easy. With a few basic materials like metal sheet, chalkboard paint and magnets you can transform an ordinary surface into a versatile and functional space. Whether you want to manage your tasks. Want to display artwork or leave a fun note. A magnetic chalkboard adds creativity to your home or office.
This project offers a cost-effective way to personalize your space and stay organized. By combining the functionality of a chalkboard with the convenience of magnets, you create a dynamic and interactive area. Which suits your needs. Gather your belongings. Follow the simple steps. Unleash your creativity. Enjoy the practicality and charm of your homemade magnetic chalkboard. It’s a simple process that brings both functionality and a personal touch to your environment

Zara Whisper, a seasoned author with 8 years of experience, specializes in the domain of chalkboard. Her expertise brings depth and creativity to the written word, captivating readers worldwide.
